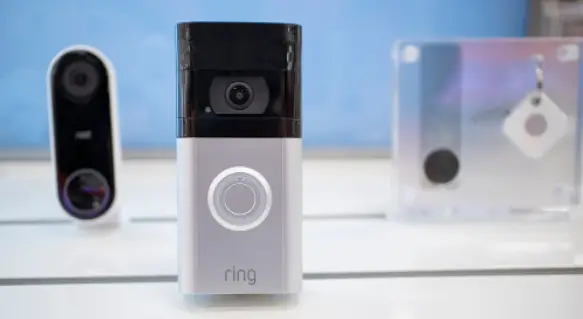
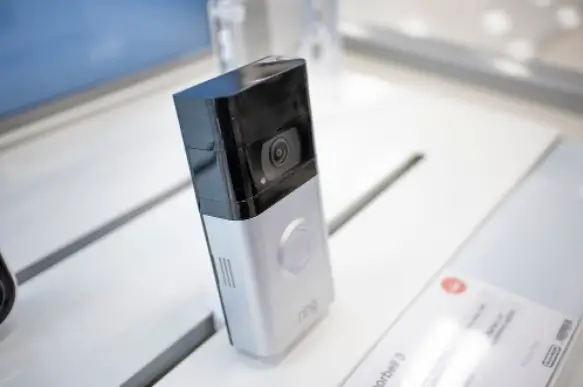
If you can transfer Ring Doorbell to a new owner, you shouldn’t fear buying this modern piece of technology from the original owner, since it usually comes with a lot of benefits.
This article gives you all the details you require to transfer the ownership, factory reset the device and more.
How to Transfer Ring Doorbell to a New Owner?
If you’re the buyer, you should do the following to transfer the Ring Doorbell to yourself securely:
1. Ask the Original Owner to Remove their Billing Information
Since you can’t remove the information via the Ring app, contact the owner to do it.
They can only access the Ring website via a desktop or mobile device. If that’s not possible, reach out to Ring Support for help.
Here are the instructions you should follow if you are the original owner to remove your payment information:
- Open your browser on your desktop.
- You should choose Desktop Site in settings if you are on a mobile device.
- Visit the Ring site.
- Go to the top-right corner and select Log In. Use your current login details.
- After logging in, select your name in the top-right corner.
- Select Account.
- Go to the credit card on the file option.
- Select the “X” on the card’s top, near the gear icon.
As the seller, you should now ask Ring to cancel the plan and refund you. Otherwise, they may continue charging you for the service.
2. Download and Install the App
After downloading and installing the app, follow the on-screen instructions to set up a new account.
Please note that you should do this if you are the new owner.
After that, the device can be removed from the Ring device.
3. Remove Account from the Device
If you are the seller or original user, you can transfer the Ring Doorbell to the new user by following these steps:
- Open your Ring app. If you deleted the app, download it again and log into your account with your Ring login details.
- Go to the top left and tap the three lines.
- Select your device.
- Tap Device Settings.
- Tap General Settings.
- Select Remove this Device.
For the device to be available for the new user, the original owner should repeat the above steps for all their connected devices.
Now you are done, but you can do a few more things for a better experience.
4. Remove Users with Shared Access
As a precaution, you can remove all users with shared access. Here’s how you can do this:
- Go to Settings.
- Navigate to Users.
- Select Shared User Profile.
- Hit Remove User.
5. Delete the Ring Account
The original owner can also delete the Ring account.
To successfully delete it, you should do this:
- Go to the Ring website via your browser.
- Navigate to the top right corner and then sign in to your account.
- Type ring.com/account/datarequests into your browser to go to the Data Requests page.
- Read the disclaimers.
- Click on Delete my Personal Information.
How to Reset the Ring Doorbell for a New Owner?
If the original owner encounters some difficulty transferring the Ring Doorbell to the new user or wants to enhance your safety further, you can factory reset it.
If you do this, you must reinstall the Ring app and follow the on-screen instructions to set it up.
Here are the steps you can follow to reset Ring Doorbell:
- Remove the backplate from your Ring Doorbell.
- Look for the orange button on the device’s back.
- Press and hold the orange button for between 15 and 20 seconds.
- Release the button and watch as the light on the device’s front flashes a couple of times. This indicates that it’s resetting.
- Wait for approximately 5 minutes for the reset to complete successfully.
How to Change the Administrator on Ring?
As the owner, you have the highest level of device access. However, you can add Shared Users to act as administrators.
They can view and share video clips, receive and control notifications, and view Event History.
The owner can add Shared Users to Ring Doorbell by invitation.
If you want to do this, you should have the user’s email address. Once you send an invitation, the user will receive clear instructions on gaining access to the system.
Here is what you should do to add administrators or Shared Users to the system:
- Go to the Dashboard screen and tap on the three lines.
- Choose Devices.
- Tap on Ring Doorbell.
- Tap Shared Users.
- Enter the email of the individual you want to invite.
- Assign the shared device.
- Tap Send Invite.
If you want to edit a Shared User, you should do this:
- Go to the Dashboard screen’s three lines in the Ring app.
- Select Devices.
- Tap on your chosen device.
- Tap on Shared Users.
- Tap on your Shared User of interest.
- Make the changes you desire.
- Tap Save.
If you want to delete any of your Shared Users, you should follow these steps below:
- Tap on the three lines on the Dashboard menu.
- If you have two or more Locations with the Ring Doorbell, tap on the address at the menu’s top and then proceed to tap on the location where it’s located.
- Tap Shared Users.
- Tap the administrator you want to delete.
- Tap Delete.
- Tap Save.
That’s all you should do to Change (add, edit, or delete) the administrator on Ring.
Summing Up
A Ring Doorbell can help keep your home and your loved ones safe by notifying you whenever someone is at your door.
In order to transfer the Ring Doorbell to a new owner, ask the original owner to remove their billing information and then remove the account from the device.
You can now download and install the app and follow the on-screen instructions to set up your new account.
To significantly boost the safety and privacy of everyone in your home without spending a lot of money, you should use the tips we’ve shared here to transfer the ownership of your Ring Doorbell to yourself.

I’ve been working with technology in one way or the other all my life. After graduating from university, I worked as a sales consultant for Verizon for a few years. Now I am a technical support engineer by day and write articles on my own blog here in my spare time to help others if they have any issues with their devices.


